
Last updated October 16, 2026
 Water damage drying
 Fire & smoke cleanup
 Mold remediation
 Storm response
 Sewage cleanup
 Reconstruction
Free visual inspection and a written scope of work before any mitigation begins - photos, moisture readings, and drying logs go in your claim file
The scope we write is the scope we bill. Anything new gets shown to you, in writing, before we touch it.
Get your free estimateWater Damage Restoration Maintenance Checklist for Sacramento Homeowners
Sacramento’s expansive clay soils can shift foundation seals by up to a quarter inch during a single dry season, enough to open a gap that an atmospheric river will find within hours of the first heavy rain. That quiet movement, combined with our wet winters and irrigation-heavy summers, means the water damage threats facing a Sacramento home don’t follow a national average. They follow our local calendar. This guide gives you a month-by-month maintenance protocol built specifically for Sacramento conditions, so you can catch the small separations, condensation zones, and supply-line failures before they become water damage restoration projects. You’ll learn exactly what to check, when to check it, and what the moisture readings in your walls actually mean.
Quick Answer
A water damage prevention checklist for Sacramento homeowners should follow the local wet season (November through March) and irrigation season (May through September), with specific attention to clay-soil pressure on foundations, attic condensation zones, slab perimeters near landscaping, HVAC drain pans, and washing machine supply lines. The most important tasks are pre-rain gutter and seal inspections each October, monthly supply-line and drain-pan checks during summer, and a documented moisture-meter walkthrough of your home’s five hidden moisture zones at least twice a year. That documentation matters later, because a completed annual checklist gives your insurance adjuster clear evidence of pre-loss condition if you ever need to file a claim.
Restoration work we handle
Table of Contents
- Why Sacramento Homes Need Their Own Water Damage Calendar
- The Five Interior Moisture Zones Every Sacramento Home Has
- The Month-by-Month Sacramento Maintenance Calendar
- How to Read Moisture in Your Walls: A Homeowner’s Pin Meter Protocol
- Clay Soil, Lateral Pressure, and Your Foundation: What to Check Before First Rain
- How a Completed Checklist Shortens an Insurance Claim
- Common Mistakes to Avoid
- When to Call a Professional
- Frequently Asked Questions
Why Sacramento Homes Need Their Own Water Damage Calendar
Most water damage prevention guides read like they were written for a house in Ohio or Georgia, not like The Complete Guide to Damage Restoration in Sacramento. Check your sump pump. Watch for ice dams. Inspect your basement after spring thaw. None of that maps cleanly onto Sacramento, where we get nearly all our rain in a five-month window, routinely see summer temperatures over 100 degrees, and live on soil that expands and contracts dramatically with moisture content. Our local conditions create a specific rhythm of risk, and a generic quarterly checklist misses the timing entirely.
Here’s what actually drives water damage in Sacramento homes:
- Atmospheric river season (November through March). These concentrated bands of moisture can drop several inches of rain in 24 to 48 hours. The ground near your foundation saturates quickly, and any gap in a seal, any clogged downspout, any deteriorated window caulking gets tested at full pressure.
- Irrigation season (May through September). Sprinklers and drip lines run constantly near foundations and slab perimeters. A misdirected sprinkler head spraying the stucco or siding for twenty minutes a day, every day, causes damage that looks a lot like slow rainfall.
- Expansive clay soil. Sacramento sits on soil classifications that shrink when dry and swell when wet. Over a single summer, the soil can pull away from a foundation enough to open a visible gap. That same soil pushes inward when the rains return, and the lateral pressure against basement and crawl space walls is a real structural stressor.
- Delta-influenced humidity swings. Even outside the rain season, Sacramento’s proximity to the Delta means cool, moist mornings followed by hot, dry afternoons in spring and fall. That daily swing creates condensation inside attics and crawl spaces, especially in homes with unsealed vents or missing vapor barriers.
If you’re maintaining a home in Sacramento, the calendar that matters is ours: a pre-rain push in October, vigilance during every atmospheric river event, and a disciplined summer routine around irrigation and air-conditioning condensate. That’s the framework this guide follows. And it’s the same framework our technicians at Tidemark Water Damage Sacramento home service visits use when we walk a property, because the tide mark, the line water leaves behind, always tells us more than a generic punch list ever could.
The Five Interior Moisture Zones Every Sacramento Home Has
Not all water damage starts with a visible leak. In our experience working on water damage restoration in Sacramento, a majority of interior moisture problems begin in the same five locations, regardless of the home’s age, size, or neighborhood. These are the zones to check monthly, because each one can hold hidden moisture for weeks or months before you notice staining or smell anything.
1. Attic Condensation Zones
During Sacramento’s cool, foggy winter mornings, warm air from your living space rises into the attic and meets the cold underside of the roof decking. Water condenses there, drips onto insulation, and soaks into the drywall below. The first sign is often a small, tea-colored stain on a ceiling in an upstairs hallway or bedroom. Check your attic on the first cold morning after a rain. Look for wet insulation, water beads on roof nails, or darkened roof sheathing. If you see any, the fix usually involves better attic ventilation or additional insulation, not a new roof.
2. Crawl Space Vapor Barriers
Many older Sacramento homes sit over crawl spaces, and a torn, shifted, or missing vapor barrier is one of the most common moisture problems we document. When the barrier doesn’t cover the soil completely, ground moisture evaporates into the crawl space, raises the humidity, and condenses on the floor joists and subfloor above. Over time, that moisture supports mold and softens structural wood. Every quarterly check should include a quick crawl-space look: is the plastic covering all the soil, does it overlap at the seams, and are there any standing puddles after rain?
3. Slab Perimeters Near Landscaping
Sacramento’s hot, dry summers push homeowners to water foundation plantings generously, and that water often pools against the slab edge. Over time, moisture wicks through the concrete and appears inside as damp baseboards, bubbling paint, or musty carpet near exterior walls. During irrigation season, walk the outside perimeter of your house once a month and watch for sprinkler overspray hitting the stucco or siding. Then go inside and feel the baseboards in the same area. If they’re cool or damp to the touch, move the irrigation line back and let the area dry before it becomes a restoration issue.
4. HVAC Drain Pans
Every Sacramento air conditioner produces gallons of condensate during the summer. The drain line carries that water away, but algae, dust, and debris can clog the line, causing the pan to overflow. When it does, water runs down through the ceiling or into the closet floor under the air handler, often while the family is asleep and the system is working hardest. Check your drain pan monthly from May through September. If there’s standing water in the pan, the line is partially blocked. A wet-dry vac on the drain line opening often clears it, but repeated clogs mean the line needs professional cleaning.
5. Washing Machine Supply Lines
A burst washing machine supply line releases more water per minute than any other typical household failure, and the rubber hoses that come with many machines are rated for only about five years. Check your supply lines quarterly. Look for bulges, cracks, or corrosion at the fittings, and make sure the connections are hand-tight plus a quarter turn. If your hoses are more than five years old, or if you don’t know how old they are, replace them with braided stainless steel lines. It’s a thirty-dollar fix that prevents a five-figure restoration.
Each of these five zones has one thing in common: the water accumulates in a place you don’t look often. A monthly walkthrough that touches all five takes about twenty minutes. Done consistently, it’s the single highest-value maintenance habit a Sacramento homeowner can build.
The Month-by-Month Sacramento Maintenance Calendar
A national quarterly checklist tells you to inspect gutters in spring and fall. That’s useful as far as it goes, but a Sacramento home’s risk profile changes much more specifically. Here’s the month-by-month protocol we recommend, built around our local wet and dry seasons.
January – February: Mid-Storm Vigilance
- After every significant storm, walk the exterior perimeter. Look for ponding water within three feet of the foundation, gutter overflow, or downspouts that have pulled away from the wall.
- Check interior ceilings and walls for fresh staining. Atmospheric river events drive water into gaps that didn’t exist in October. The earlier you catch a stain, the smaller the repair.
- Inspect attic condensation zones. Cold mornings are prime time for condensation on roof sheathing. A flashlight and five minutes on a clear morning is enough.
- Watch the crawl space after heavy rain. If water is standing under the house, the grading or drainage needs attention before the next storm.
March – April: Transition and Dry-Out
- Check all five interior moisture zones once a month. Pay particular attention to areas that showed staining during winter, because warm spring temperatures accelerate mold growth in anything still damp.
- Inspect window and door caulking. Winter rains expose failing seals. Making repairs now means a full dry season before the next storm season tests them again.
- Evaluate the crawl space vapor barrier. After the rainy season, look for torn plastic, shifted seams, or moisture beading on the subfloor. Repair now, before summer heat drives more evaporation.
May – June: Irrigation Season Begins
- Turn on each irrigation zone and watch it run. Check for sprinkler heads spraying the house, drip lines buried too close to the slab, or emitters that have popped off entirely.
- Check the HVAC drain pan and drain line. The first heat waves push air conditioners into daily condensate production, and that’s when clogs appear. Empty or vacuum the drain line if water stands in the pan.
- Feel baseboards along slab perimeters near landscaping. Dampness here in early summer almost always traces to irrigation overspray.
July – August: Peak Heat, Peak Condensate
- Check HVAC drain pans weekly during extreme heat. A system running continuously produces more condensate than a partially clogged line can carry away.
- Watch for slab separation. By late summer, expansive clay soil has shrunk as far as it will. Look for a visible gap between the soil and the foundation, and note any new cracks in driveway concrete or stucco.
- Inspect washing machine supply lines. Summer is a high-use season, and heat degrades rubber hoses faster. Look for bulging or cracking at the fittings.
September: Irrigation Season Winds Down
- Begin reducing irrigation frequency. As nights cool, the soil holds moisture longer, and overwatering near the foundation becomes unnecessary and risky.
- Document any slab separation or foundation cracking. Take photos and measurements now, before the rains close the gaps. This is exactly the kind of pre-loss documentation an adjuster values later.
- Inspect crawl space vapor barrier again. Summer heat and evaporation stress the plastic. Look for brittleness, tearing, or gaps along the edges.
October: Pre-Rain Push, the Most Important Month
- Clean all gutters and downspouts. This is non-negotiable. Clogged gutters overflow against the fascia, run down the exterior wall, and saturate the ground at the foundation. Extend downspout discharge at least three feet from the house.
- Check the roof for missing, cracked, or lifted shingles. Sacramento’s summer heat bakes roofing materials, and the first heavy rain finds every weak spot.
- Re-caulk window and door perimeters, and check all exterior penetrations. Hose bibs, electrical conduits, and vent pipes all need intact seals.
- Clear debris from yard drains and channel drains. A blocked drain turns a moderate storm into a flooded patio or garage.
- Run a full five-zone interior moisture check and document your readings. This becomes your pre-loss baseline for the winter ahead.
November – December: First Storms, Full Engagement
- Walk the perimeter after each storm. Ponding water is the first clue that drainage isn’t handling the volume.
- Check attic condensation on cold mornings. The first week of cold rain usually reveals any ventilation gaps.
- Inspect the crawl space within 24 hours after any storm over one inch. Sacramento’s clay soil swells when it rehydrates, and that lateral pressure can crack crawl space walls and open new paths for water.
- Keep an eye on slab perimeters. The soil that pulled away in August now swells against the foundation. New cracks, especially near downspouts, deserve attention.
This calendar works because it tracks the two seasons that actually shape water risk in Sacramento. Follow it for one full year and you’ll have a clear sense of how your specific house responds to our climate, plus a documented baseline for the future.
How to Read Moisture in Your Walls: A Homeowner’s Pin Meter Protocol
You don’t need to be a restoration technician to get useful moisture data from your walls. An inexpensive pin-type moisture meter, available at most hardware stores for under forty dollars, gives you objective numbers instead of guesswork. The protocol below takes about fifteen minutes per month and covers the five hidden zones described earlier.
What You Need
- A pin-type moisture meter (not a pinless one; pinless meters read through material and can be fooled by metal in the wall).
- A small notebook or a notes app on your phone for recording readings.
- Access to the crawl space, attic, and the areas around your HVAC unit and washing machine.
The Protocol
- Start with a known dry surface. Test a section of interior wall in a room with no plumbing, no exterior exposure, and no history of leaks. Record that number as your baseline. In a typical Sacramento home in dry season, expect 8 to 12 percent on drywall.
- Test each of the five zones monthly. For the attic, test roof sheathing and any insulation near vents. In the crawl space, test floor joists and the subfloor. At slab perimeters, test baseboards along exterior walls near landscaping. At the HVAC drain pan, test the drywall beneath the air handler. At the washing machine, test the wall behind the supply-line connections.
- Record your numbers in the same order every time. Consistency is what turns individual readings into trend data.
- Compare each reading to your baseline and to the previous month. The absolute number matters less than the change.
What the Numbers Mean
- 8 – 12 percent: Normal for interior drywall in Sacramento’s dry season. No action needed.
- 13 – 17 percent: Watch range. Moisture is present, and you should investigate the source: a leaking supply line, an irrigation overspray, a condensation issue. Recheck weekly until the number returns to baseline.
- 18 – 24 percent: Action range. The material is wet enough to support mold growth within 24 to 48 hours if conditions stay warm. Find the source and dry the area with fans and dehumidification now.
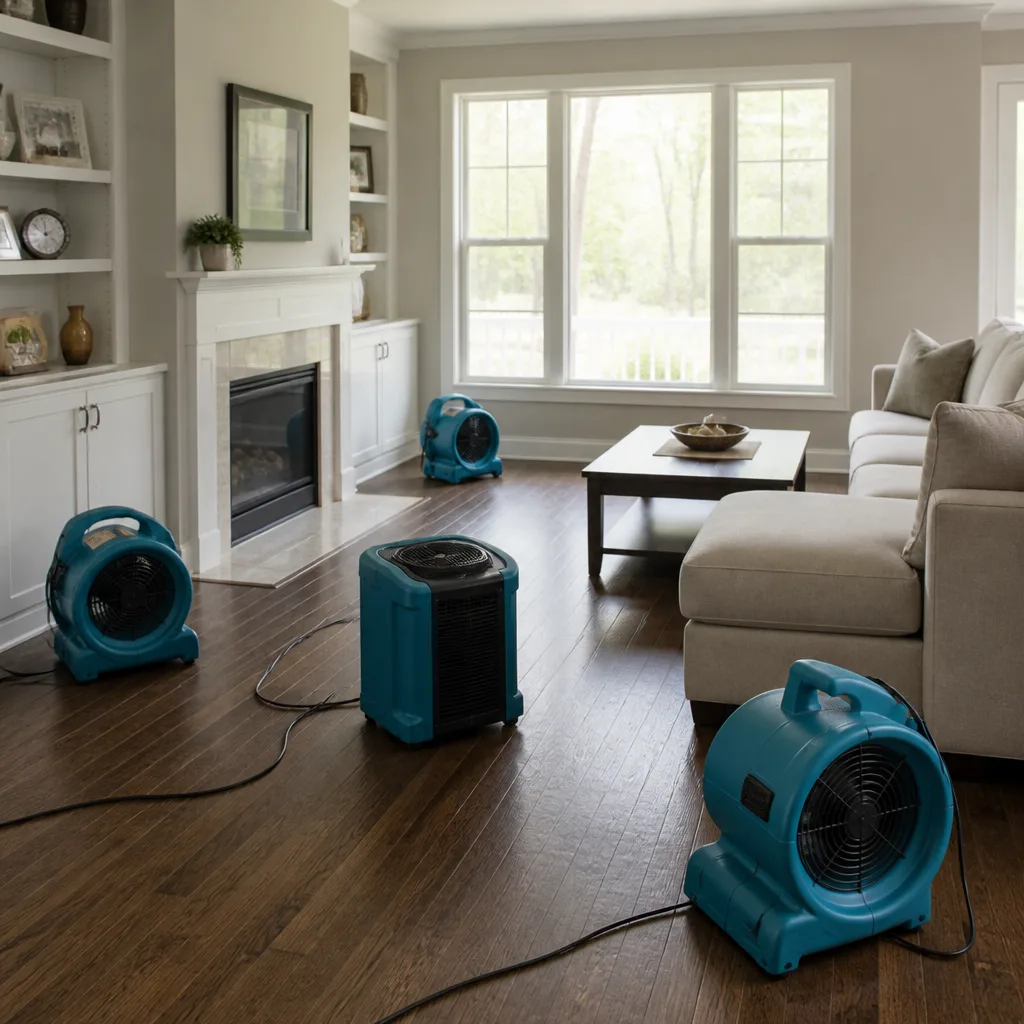
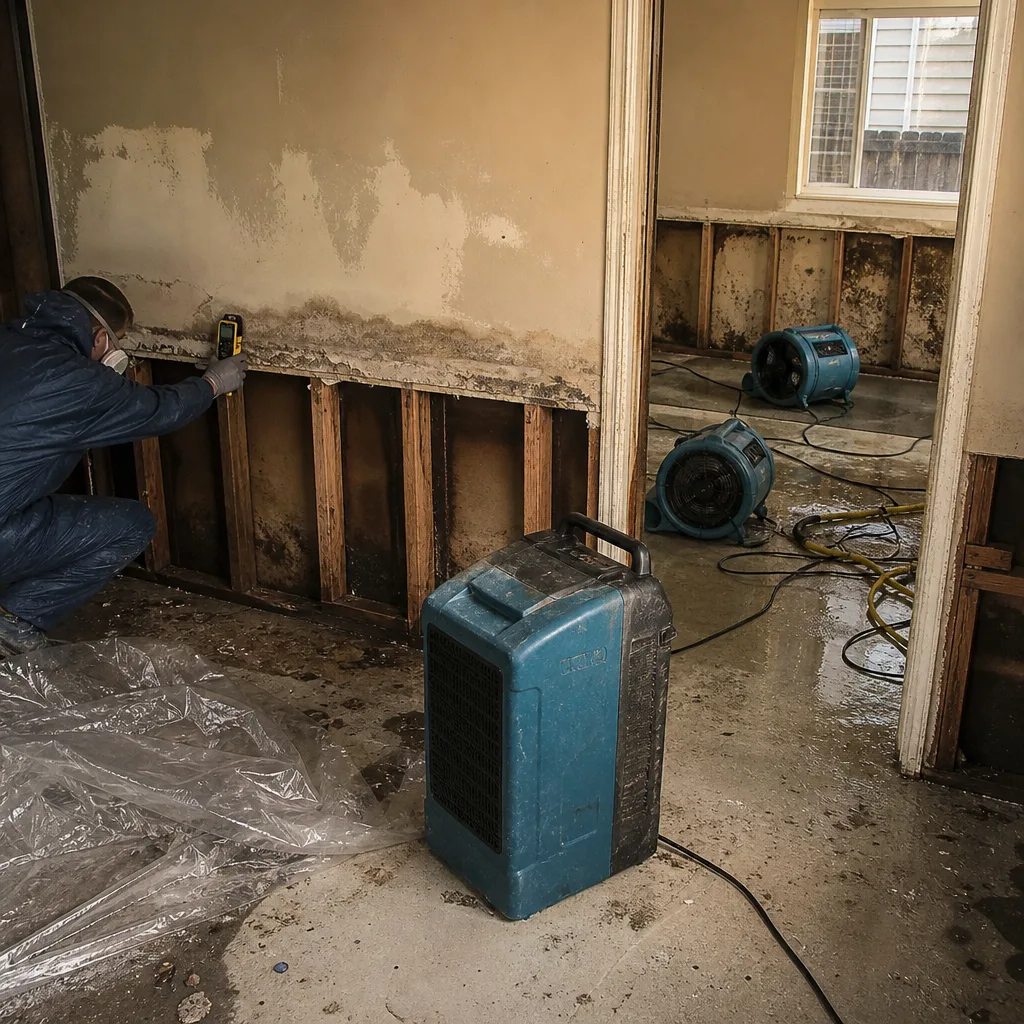
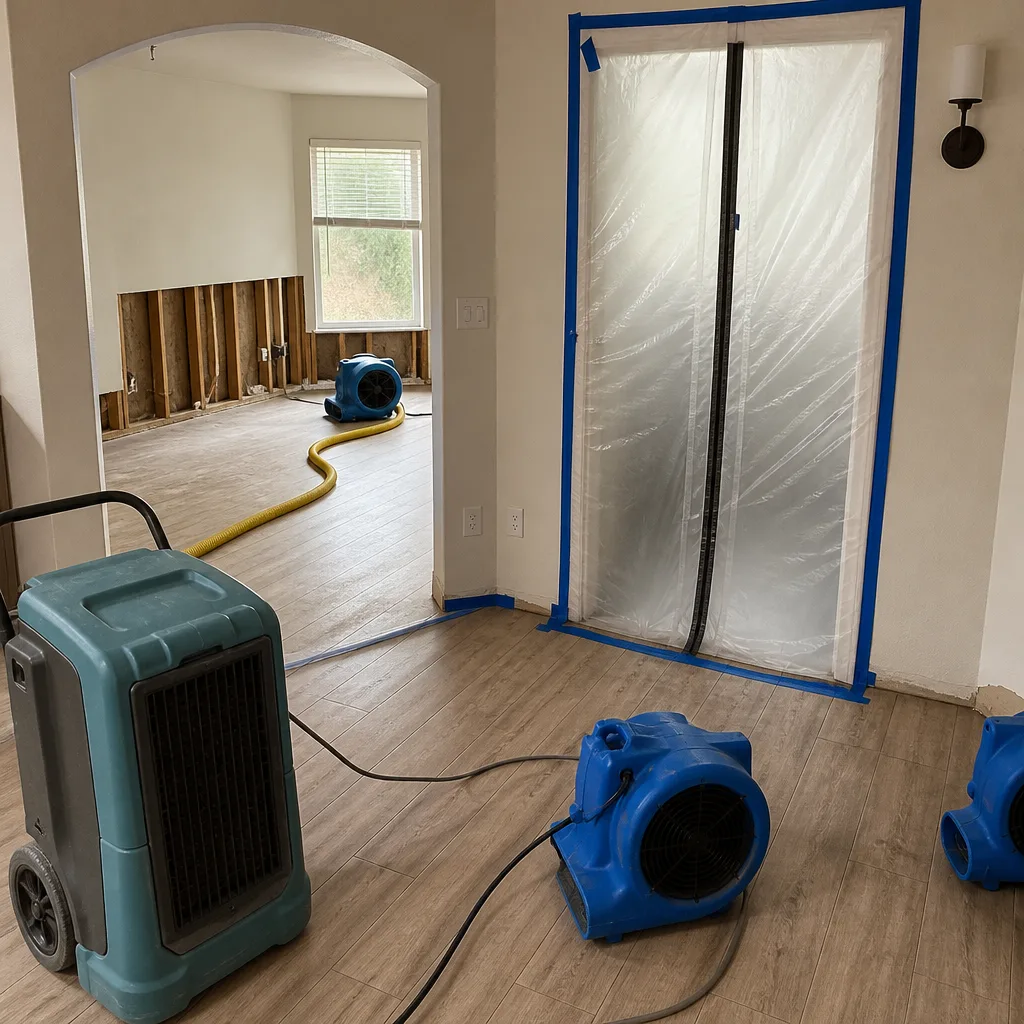
- 25 percent or higher: Saturated. This is restoration territory. The material will not dry on its own in any reasonable time frame without professional-grade equipment. Call a restoration company with commercial drying machines from brands like Phoenix or Dri-Eaz, because household fans and a dehumidifier from the hardware store won’t pull water from inside wall cavities.
- Walk the exterior perimeter and look at the soil line. A visible gap between the soil and the foundation at the end of summer is normal in Sacramento. What matters is what the gap looks like: a hairline separation is expected, but a gap wider than a quarter inch, or one that varies dramatically from one side of the house to the other, indicates uneven drying and uneven re-expansion pressure.
- Check basement and crawl space walls for new cracks. Horizontal cracks are more concerning than vertical ones, because horizontal cracking usually reflects lateral soil pressure rather than normal settling. Any crack that has appeared or widened since spring should be documented and monitored.
- Inspect where the wall meets the floor. This cold joint is a frequent entry point when hydrostatic pressure builds during winter rains. Look for efflorescence, a white chalky residue that indicates water has moved through the concrete, or dark staining that shows past moisture.
- Verify that downspout extensions discharge at least three feet from the foundation. The more water you keep away from the clay soil immediately adjacent to the house, the less swelling pressure the foundation experiences.
- Check for leaning or tilting retaining walls. A retaining wall under lateral pressure from rehydrating clay can shift visibly over a single winter. Movement there often signals that drainage behind the wall is failing.
- Dated photographs of the five moisture zones, taken on the same month each year and stored in a folder or cloud album.
- Moisture meter readings in a simple table, with the date, location, and number recorded.
- Maintenance receipts for gutter cleaning, downspout extensions, supply-line replacement, caulking, and vapor barrier repair.
- Written notes on anything unusual: a new crack, a damp spot that dried, a sprinkler head that was adjusted.
- Following a generic national checklist. Sacramento’s risk rhythm is wet winters and irrigation summers, not spring thaw and ice dams. A checklist that tells you to inspect your sump pump in March is missing the atmospheric river that hit your gutters in November.
- Ignoring the crawl space because it’s unpleasant. The crawl space is where Sacramento’s clay soil pushes moisture into your home. Skipping it means you’ll find the evidence later, on your floor joists or in your air quality.
- Waiting to replace rubber washing machine supply lines. Rubber hoses fail without warning, and the failure releases hundreds of gallons per hour. If you don’t know the age of yours, replace them now.
- Trusting that a clogged HVAC drain line will clear itself. It won’t. The water in the pan has nowhere to go except through your ceiling.
- Treating every moisture meter reading above baseline as an emergency. A reading of 14 percent in winter near a window might simply be humidity. Watch the trend and investigate the source before panicking, but don’t ignore a reading that keeps climbing.
- Planting shrubs and running drip lines directly against the slab. Sacramento’s irrigation season is long and hot, and month after month of water against the foundation is a slow-motion restoration project.
- Doing the October pre-rain push in November. The first atmospheric river of the season arrives when it arrives, and a clogged gutter in early November has already failed you.
In our experience, many Sacramento homeowners first learn their wall is wet when the paint bubbles. A pin meter gives you weeks of early warning before that stage, and the documentation it creates is exactly what an insurance adjuster wants to see if a claim becomes necessary.
Clay Soil, Lateral Pressure, and Your Foundation: What to Check Before First Rain
Sacramento’s expansive clay soil is the quiet engine behind a significant share of local water intrusion. During the dry season, the soil shrinks and pulls away from foundation walls. When the rains return, the soil swells, often expanding more than it shrank, and the resulting lateral pressure pushes against basement and crawl space walls. That pressure can crack a wall, shift a footer, or open a gap at a cold joint where the wall meets the slab, and any of those openings becomes an entry point for water during the next heavy storm.
Here’s the pre-rain check to do each October, before the soil rehydrates:
None of this requires special equipment, just a consistent October walkthrough with a camera. The photos you take become part of your pre-loss documentation, and patterns that emerge over several years tell you whether your drainage is holding or slowly failing.
How a Completed Checklist Shortens an Insurance Claim
Water damage claims often stall for one frustrating reason: the insurance adjuster cannot distinguish pre-existing conditions from the event being claimed. When a wall is wet, a ceiling is stained, and baseboards are warped, the adjuster’s first question is usually some version of “when did this actually start?” Without documentation, the answer becomes a negotiation. With documentation, it becomes a fact pattern.
A completed annual maintenance checklist changes that dynamic. When you walk into a claim process with twelve months of moisture readings, dated photographs of the attic and crawl space, and a written record of gutter cleanings and caulking repairs, you’re handing the adjuster a pre-loss baseline. The adjuster can see exactly what condition the home was in before the event, compare it to the post-loss condition, and process the claim without a lengthy back-and-forth about whether the damage was gradual or sudden.
Here’s what strong pre-loss documentation includes:
When our team works on fire damage restoration in Sacramento or water damage jobs, we photograph everything before, during, and after, and we share those photos with the homeowner and their adjuster directly. The same principle applies to your own maintenance records: they’re evidence, and evidence moves claims faster.
Even if you never file a claim, the same documentation helps any contractor you hire understand your home faster. A house with a documented history gets diagnosed more accurately, and that means smaller, better-targeted repairs.
Common Mistakes to Avoid
When to Call a Professional
Some water problems announce themselves slowly; others arrive all at once. You should call a restoration professional when you find standing water in the crawl space or under cabinets, when a moisture meter reads 25 percent or higher and stays there, when ceiling staining spreads over several days, when multiple rooms show moisture at once, or when you smell a persistent musty odor that doesn’t clear with ventilation. These are signs that water has moved beyond a surface fix and into building materials, where household fans and dehumidifiers cannot reach it. In those cases, professional drying equipment from brands like XPOWER and B-Air, operated by credentialed technicians, matters more than effort and good intentions. Mold remediation in Sacramento is also worth considering if you’ve had moisture present for more than 48 hours, because visible mold is often only the surface portion of a larger colony. Tidemark Water Damage Sacramento offers free estimates in Sacramento, call (279) 277-2396.
Frequently Asked Questions
Monthly checks are ideal, with the five interior moisture zones surveyed each month and the exterior perimeter walked after every significant storm. At minimum, do a full check in October before the rain season starts and again in May when irrigation season begins, because Sacramento’s risk shifts dramatically between those two seasons.
In our experience, the crawl space vapor barrier and the HVAC drain pan are the two most common hidden moisture zones. The crawl space is often overlooked because it’s unpleasant to check, and the drain pan fails silently in summer when the air conditioner is working hardest.
A basic pin-type moisture meter from a hardware store is sufficient for homeowner monitoring. You’re looking for trends and sudden changes, not laboratory precision. Record your readings consistently, and when the numbers stay above 20 percent or keep climbing, call a professional with commercial-grade equipment.
Clay soil shrinks during our dry summers and swells when rain returns. The shrinking pulls soil away from foundations and opens gaps; the swelling pushes laterally against basement and crawl space walls with enough force to crack them. Once a wall is cracked, winter groundwater pressure finds the crack and moves water inside.
Coverage depends on your specific policy and the source of the leak. Sudden and accidental incidents, like a burst supply line, are commonly covered. Damage from long-term, unrepaired seepage or neglect is often excluded or adjusted. This is exactly why a documented maintenance calendar helps: it shows the damage was sudden, not neglected.
First, stop the source if you can identify it, whether that’s a leaking pipe, irrigation overspray, or condensation. Then ventilate the area and recheck the reading in 24 hours. If the number holds or climbs above 20 percent, the cavity behind the drywall likely holds more water than surface drying can reach, and you should consult a restoration professional.
The Bottom Line
A water damage maintenance checklist for Sacramento works when it follows the local calendar: October’s pre-rain push, winter’s storm-by-storm vigilance, and summer’s irrigation and condensate discipline. Check the five hidden moisture zones monthly, keep a simple moisture meter log, and document what you find with photos and notes. That record keeps your home dry and gives you a pre-loss baseline that can shorten an insurance claim significantly. If your readings climb or standing water appears, call a professional. Tidemark Water Damage Sacramento offers free estimates and answers the phone day or night at (279) 277-2396.
Written by Rick Sumner, Owner at Tidemark Water Damage Sacramento, serving Sacramento since 2006.
See the difference
 Before
 After
After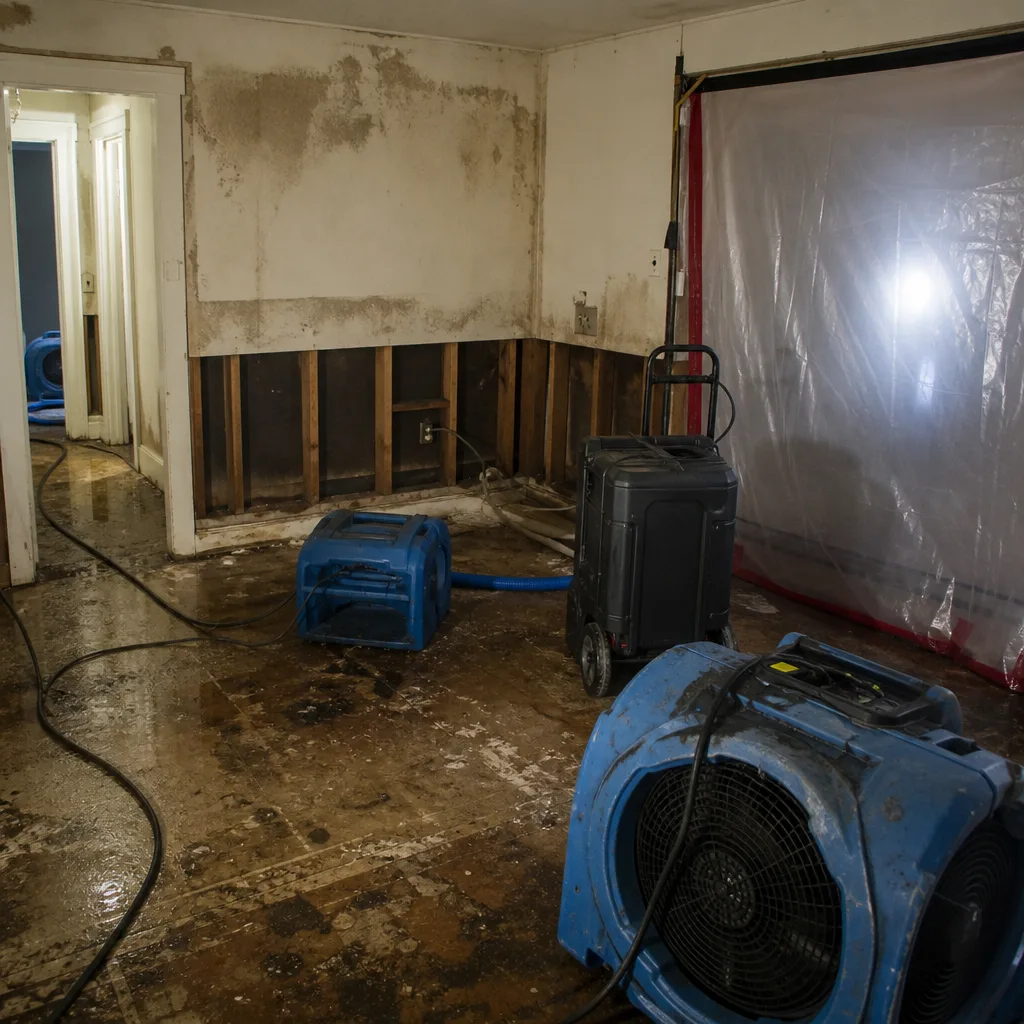 Before
 After
After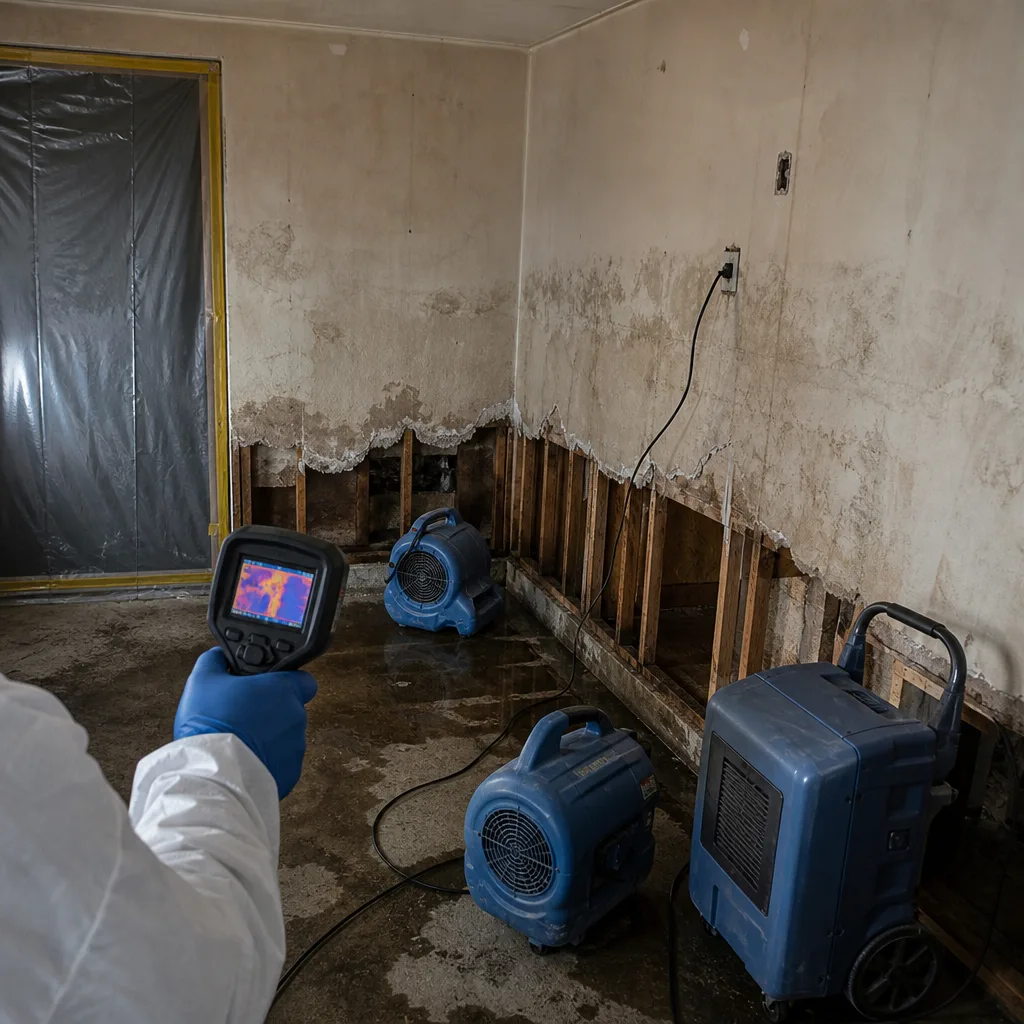 Before
 After
After